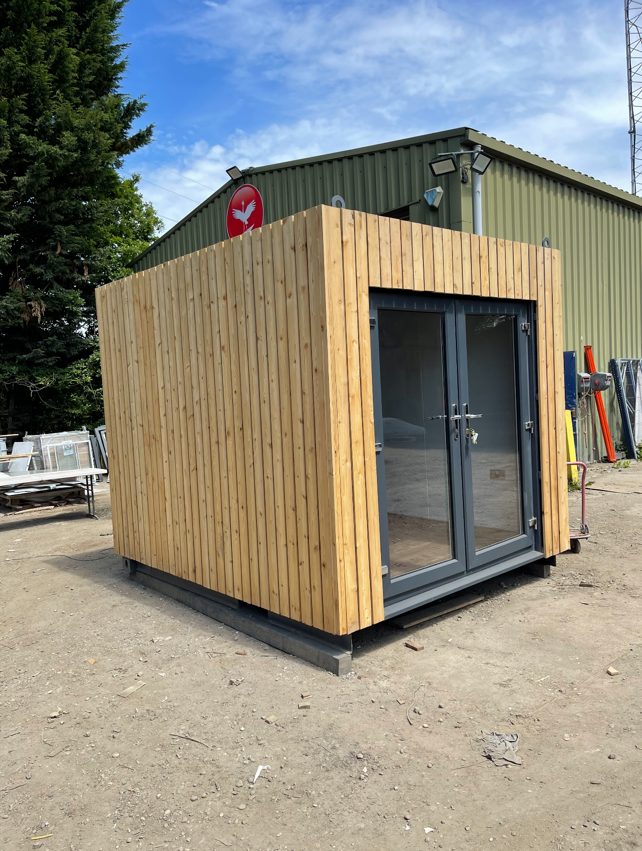
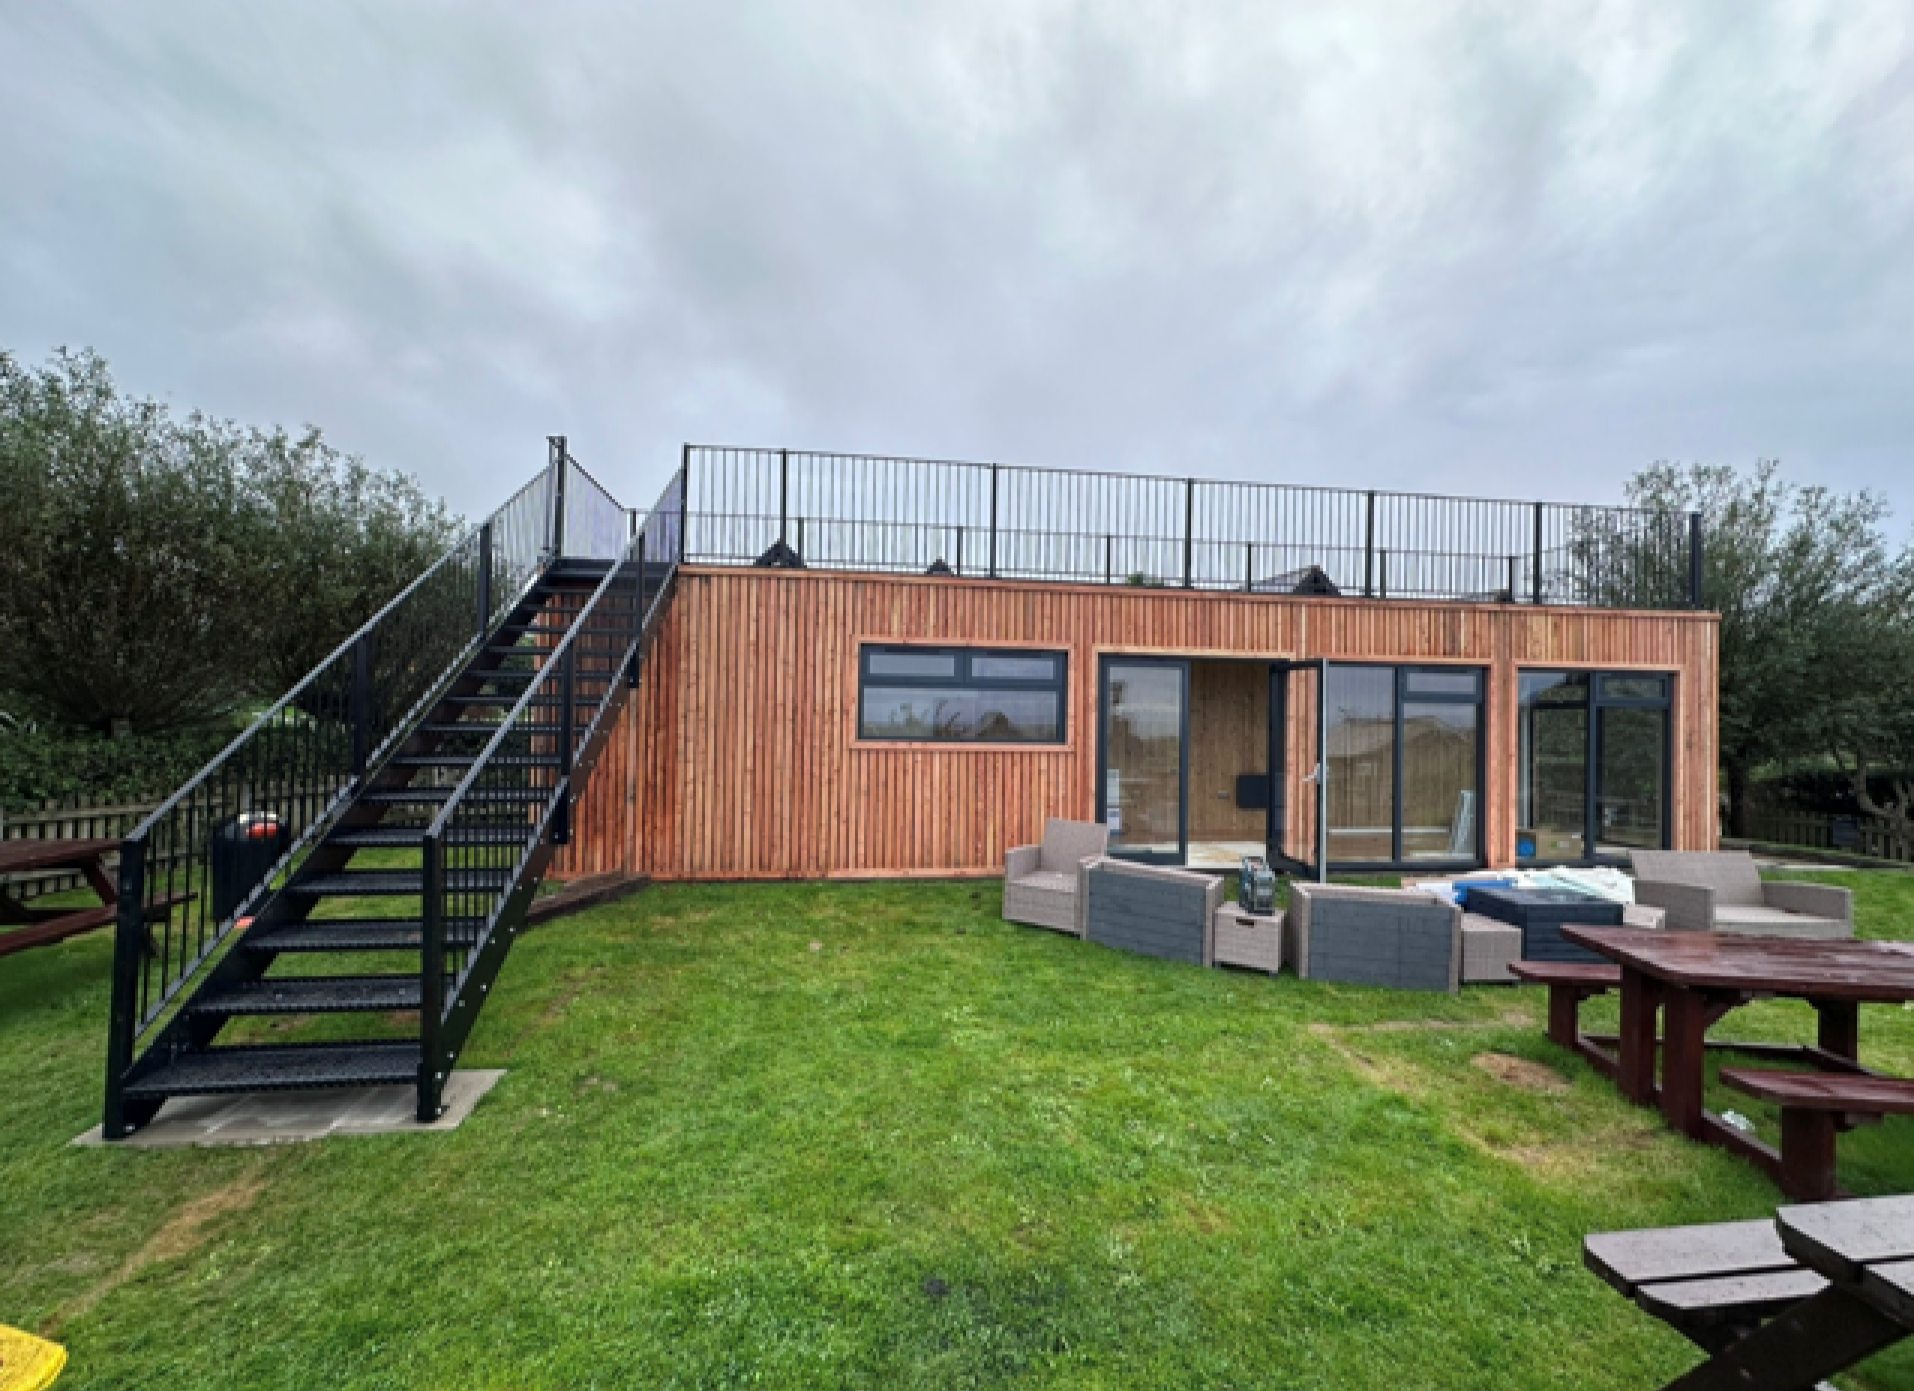
2026 How to Create Stunning Architecture Photoshop Renders?
Creating stunning architecture photoshop renders is an essential skill for modern architects and designers. This process involves not only technical knowledge but also a creative touch. The right blend of lighting, textures, and colors can bring a design to life. It transforms basic shapes into visually captivating structures that tell a story.
Many artists struggle with achieving the desired realism in their architecture Photoshop render. Common mistakes include over-saturation and unrealistic shadows. Understanding the fundamentals of color theory and light behavior is crucial. This awareness can lead to improved outcomes. Experimentation is key; sometimes, the best results come from unexpected choices.
Investing time in practice can make a significant difference. Regularly refining skills allows designers to develop their unique style. Remember, imperfect renders can be a source of valuable insights. Reflecting on them can enhance future projects. Ultimately, embracing both successes and failures is important in mastering architecture Photoshop renders.
Understanding the Basics of Architectural Rendering in Photoshop
Architectural rendering in Photoshop is an essential skill for architects and designers. It provides a visual representation of buildings, helping clients envision the final product. According to a 2022 report from the American Institute of Architects, about 91% of architects utilize digital rendering techniques for project presentations. This highlights the growing importance of rendering in the architecture field.
Understanding the basics is crucial. Mastering layers, blending modes, and lighting effects can elevate your renders from average to stunning. A study by DesignIntelligence found that 72% of clients prefer photorealistic renderings when evaluating designs. This reflects the necessity to develop your Photoshop skills. However, even experienced designers sometimes struggle with achieving realism. Balancing artistic expression and technical accuracy can be challenging.
It's essential to embrace imperfection in your work. Often, the most compelling designs come from trial and error. Acknowledging your shortcomings can lead to breakthroughs in creativity. Continuous learning is key. Engage in tutorials, seek feedback, and experiment with different techniques to refine your rendering skills.
Essential Tools and Features for Stunning Architecture Renders
Creating stunning architectural renders in Photoshop requires the right tools and features. The software’s versatility makes it a favorite among architects and designers. According to a recent industry report, 78% of professionals believe that high-quality renders enhance client presentations. This highlights the need for effective rendering techniques.
Essential tools include brushes, layer styles, and adjustment layers. Brushes can create textures on surfaces, adding realism. Layer styles allow for shadow and highlight adjustments, making your render pop. Adjustment layers help in color correction, ensuring the final image reflects the intended vision. Pay attention to lighting; it significantly affects mood and perception.
Tips: Use contrasting colors to draw attention to focal points. Experiment with blending modes to see what enhances texture. Don't hesitate to revise your work. Imperfections can lead to new creative insights. Embrace feedback and adjust accordingly, as construction isn't perfect in real life either.
2026 How to Create Stunning Architecture Photoshop Renders? - Essential Tools and Features for Stunning Architecture Renders
| Tool/Feature | Purpose | Key Benefits |
| Photoshop CC | Image manipulation and enhancement | Advanced editing features, layer management |
| 3D Rendering Plugins | Integration with 3D models | High-quality 3D visualizations |
| Brushes and Textures | Adding details and realism | Enhances visual appeal |
| Lighting Effects | Creating realistic shadows and highlights | Improves depth perception |
| Color Grading Tools | Adjusting overall color tones | Sets mood and atmosphere |
| Adjustment Layers | Non-destructive image editing | Flexible editing options |
| Smart Objects | Scalable graphics without quality loss | Retain quality across edits |
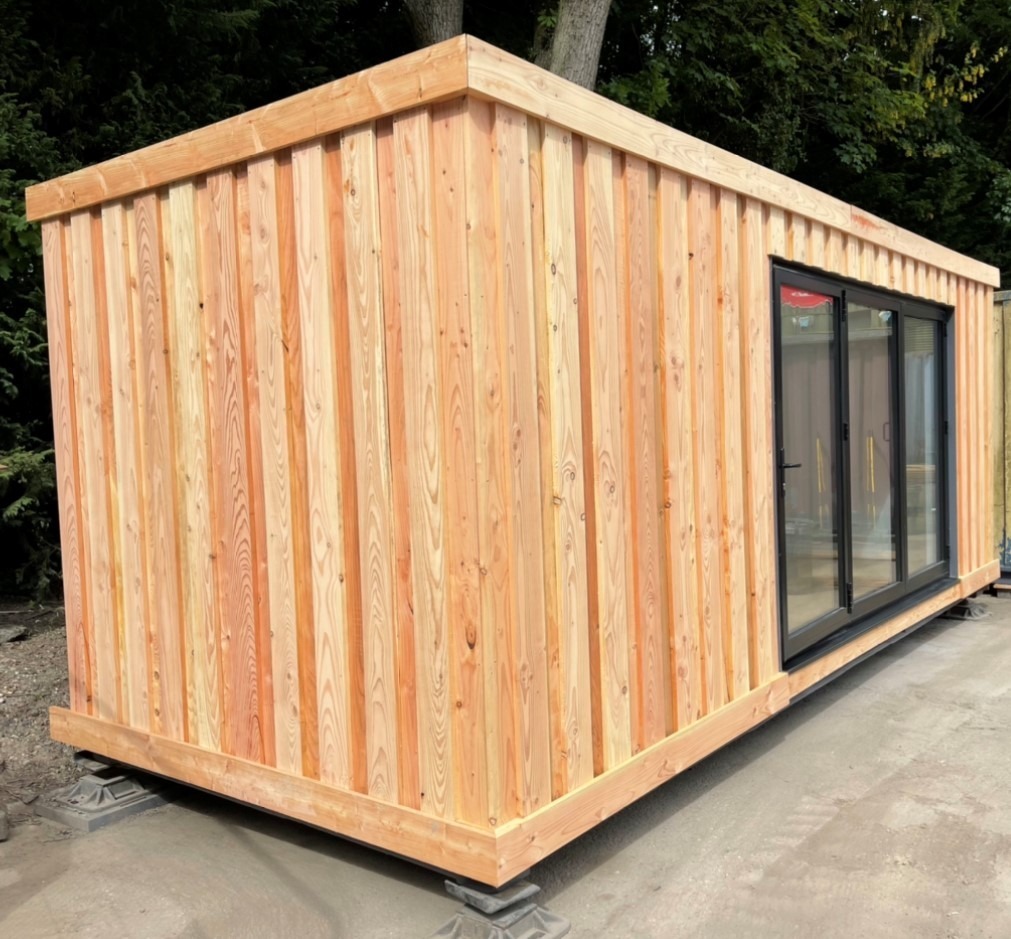
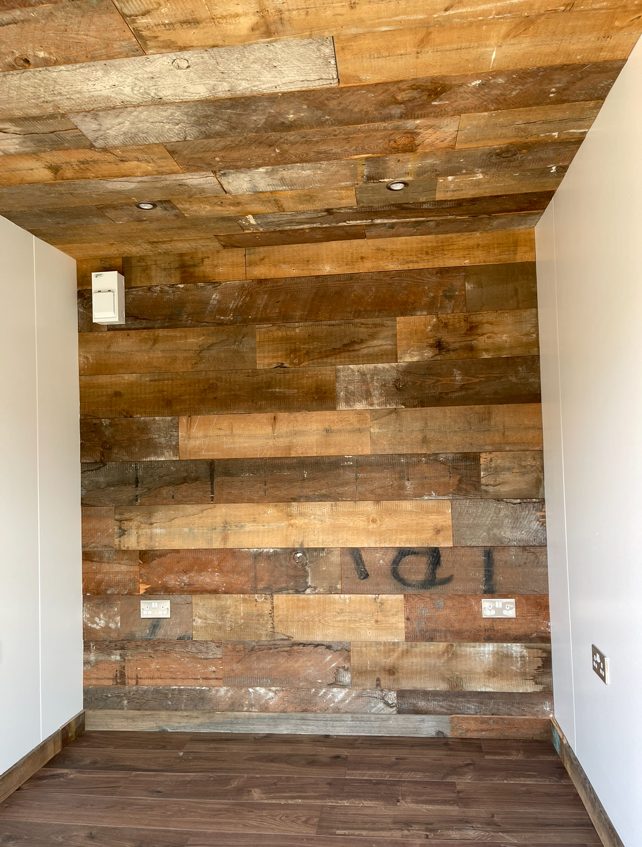
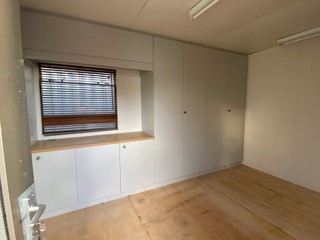
Step-by-Step Guide to Creating Realistic Building Textures
Creating realistic building textures in Photoshop can significantly enhance your architectural renders. This step-by-step guide will help you master the art of texturing, making your work more visually stunning.
Start by gathering high-quality texture images. Look for concrete, wood, and metal textures that you can use as bases. Use layers to apply these textures to your building models. Adjust the opacity and blending modes to blend them seamlessly. Remember, not every texture works perfectly. Sometimes they may appear too stark or too subtle. Don’t hesitate to experiment until you find the right balance.
Tips: It's often useful to add a slight noise filter to textures. This creates depth and reduces the overly smooth look. Also, consider using smart objects; this allows for easy adjustments without losing quality. Check your render from different angles to spot any inconsistencies.
Take the time to add dirt and wear to your textures. Buildings endure harsh conditions, so reflecting this in your work adds realism. Use brushes for details like grime or chipped paint. Occasionally, you might overdo these effects, leading to unrealistic visuals. Always step back and assess your work with fresh eyes.
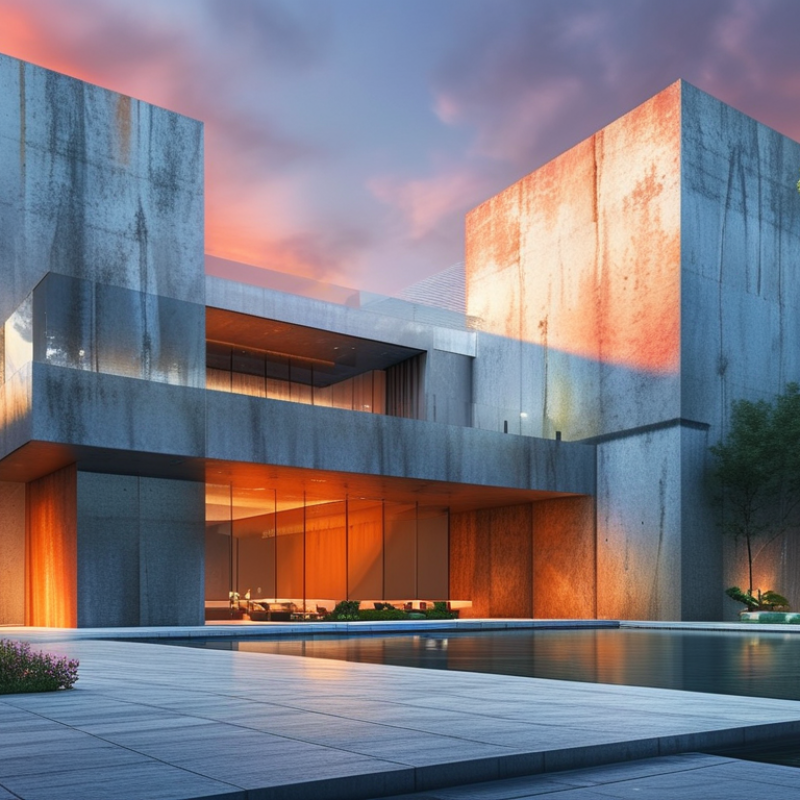
Techniques for Effective Lighting and Shadow in Photoshop Renders
Effective lighting and shadow play a crucial role in creating stunning architecture renders in Photoshop. According to a recent report from the Architectural Institute, nearly 75% of professionals believe that lighting significantly impacts viewer perception. Properly designed lighting can draw attention to key features of a structure, while poorly implemented shadows can distort its reality. It’s essential to understand the natural light sources around each project. Observing how light interacts with structures in real life helps in replicating those effects digitally.
Experimentation is vital. Many artists find that simple adjustments can lead to dramatic changes. For example, tweaking shadow opacity from 50% to 70% can enhance depth. Research from the Design Research Society shows that realism in renders increases viewer engagement by over 60%. Yet, achieving the perfect balance is challenging. Sometimes shadows can overwhelm architectural details if not handled carefully. An under-lit corner might invoke a sense of mystery but can also leave viewers confused about the structure’s form. Iterating on lighting setups can uncover unexpected effects, revealing new perspectives on even familiar designs.
Finalizing and Exporting Your Architecture Render for Presentation
When finalizing an architecture render for presentation, attention to detail is vital. High-quality renders can discern a project’s potential. According to industry reports, nearly 75% of architects believe realistic rendering improves project approval rates. Proper lighting and shadowing can greatly enhance perception. A detailed approach in these elements can significantly elevate the final product.
Tips: Use layered Photoshop files. This allows for flexibility in adjustment. Consider color grading to set the mood. Always save in a high-resolution format for clarity. Review and critique your render critically. Sometimes, a 'perfect' render lacks personality. Incorporate imperfections to evoke realism.
Exporting your final render requires careful consideration. The resolution should match presentation requirements. Most projects demand a minimum of 300 DPI for print. Additionally, take time to select the right file format. Each serves a distinct purpose. JPEG is suitable for web, while TIFF is ideal for print. Thoughtful preparation ensures effective communication of your design vision.